

Good morning! I hope you like tutorials because it's my turn to host this weeks Wednesday Tutorial at Catch The Bug.
Have you seen the little drink carriers that I've made and posted here on my blog? Well today's the day I'm gonna share with you step by step instructions on how to make your own. They're so versatile in their use! For today's sample I chose to make "The Perfect Baby Shower Gift Holder". Let's get started!
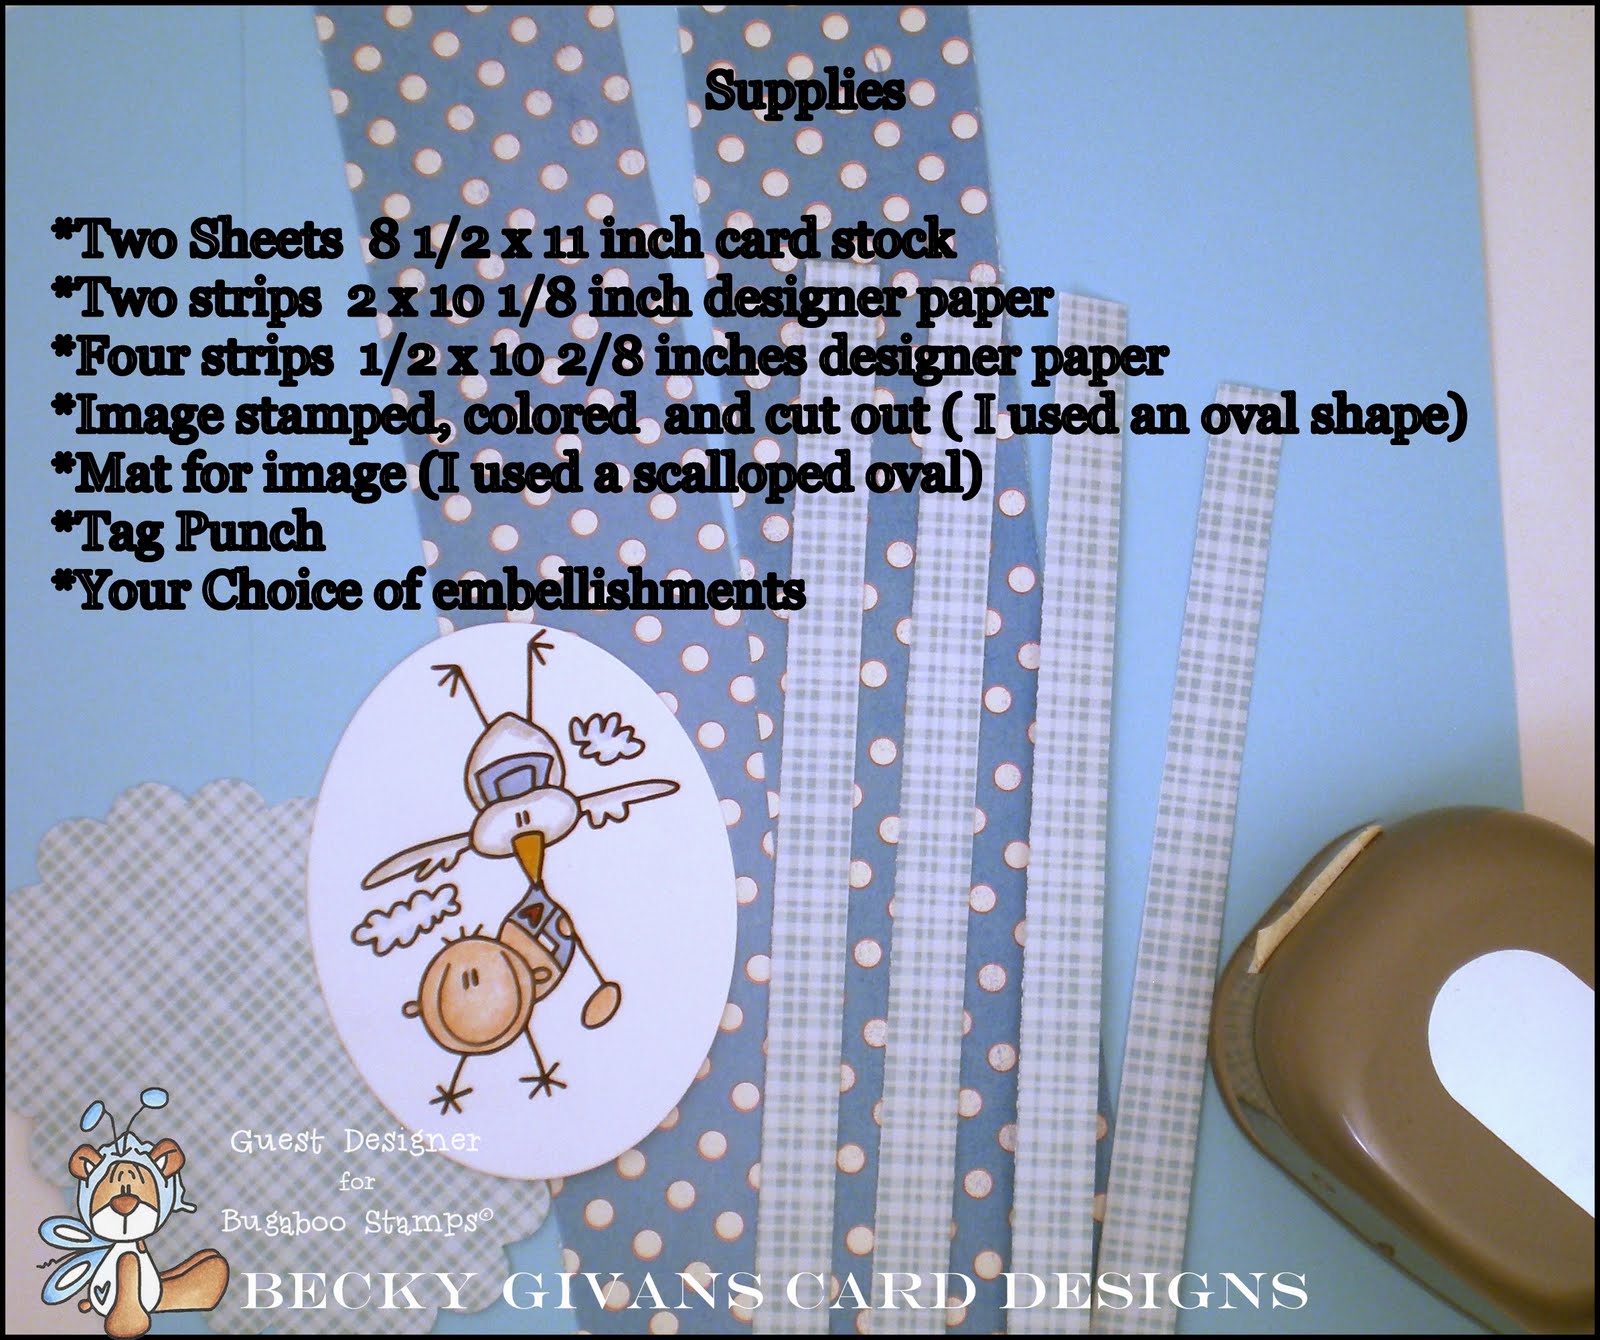
First you'll need to gather your supplies:
Now that you have all the things you need, it's time to score and cut your card stock. The image below shows the score lines and cut lines.

- Once you're made all your score lines and cuts, crease your fold lines and burnish them using your bone folder. It's time to assemble your cup holder individually. See photo below.

- Doing good so far. Next we're gonna glue these together. Avoid gluing the top center area or you will have a difficult time punching this area later. See photo below for example on where to place glue.

- You see I've put glue all around the edges and covered the body of the cup holder, but I've left the space at the top. Attach this piece to the matching piece and allow time for drying. Now it's time to embellish! Start by wrapping and gluing the large pieces of designer paper around the holder. Once you've completed this, wrap the smaller strips along the top and bottom of the designer paper. Now that the handle portion has had time to dry, you're gonna want to punch the handle hole.


9 comments:
WOW!!!! Becky!! This is FANTASTIC! I loved the tutorial! Thank you so much for sharing! You are right...That will get a lot of oohhs and AAAHHHS! Great job!
Melin
CookingWithCricut.com
PaperCraftingWorld.Blogpsot.com
Great tutorial, thanks for sharing! What a super cute and versatile project!!
audrey
fabulous tutorial. such a cute cute project! great job!!!
This is so cute. Thanks for the tutorial.
Beautiful tutorial! nice colors and image. I'm going to try this, thanks for sharing.
Zulma
This is adorable, and makes a perfect gift. Thanks for sharing this wonderful idea.
Very cool, Becky. I will have to try this. I was just making a square box with a lid yesterday. Thanks for the inspiration to think "out of the box" :)
Jani
papercompulsions.blogspot.com
This is completely awesome! Wonderful tutorial! Thanks so much.
Whoa! This is just toooo cute! Love it, thanks Becky! Great tutorial!
Post a Comment